DIY Photo Booth & Photo Booth Props
This post and its photos may contain affiliate links, view our disclosure policy.
Note: This article contains affiliate links.
Celebrating a milestone birthday absolutely requires a birthday party and a photo booth.
What better way to capture the party guests than by asking them to take a photo using fun photo props?
We did this at a 40th party for my friend and it was an absolute riot.
However, before you pull out the checkbook to rent a photo booth read on to see how easy and inexpensive it is to create your own photo booth and photo booth props!
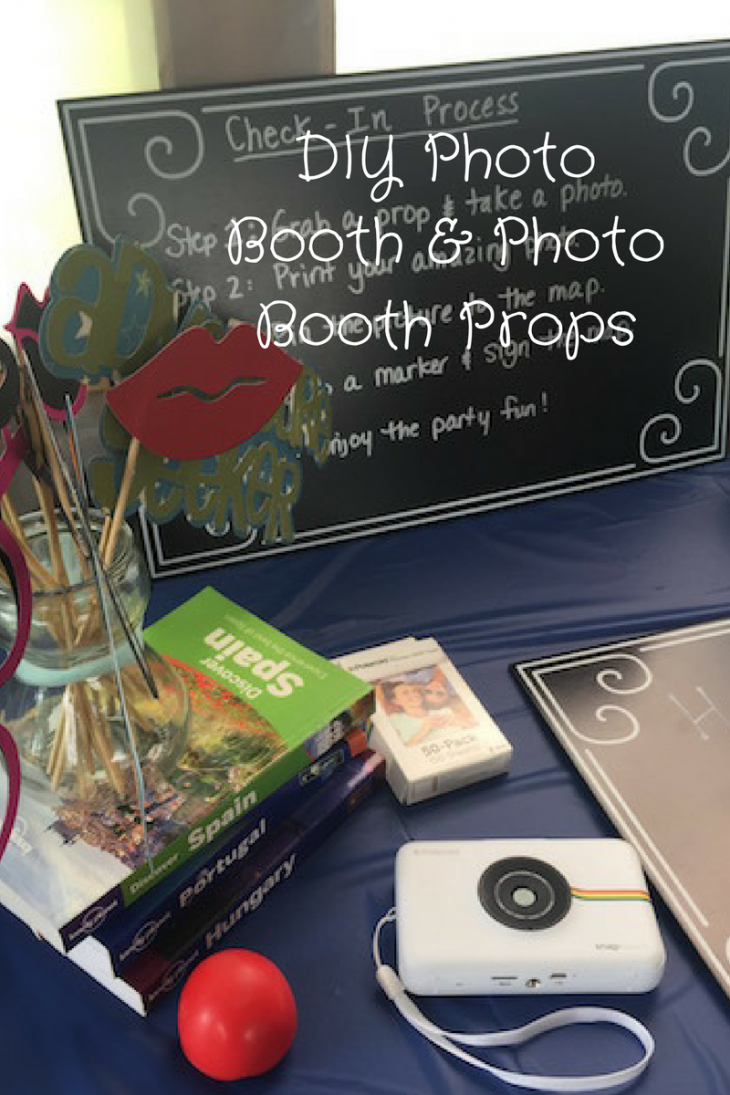
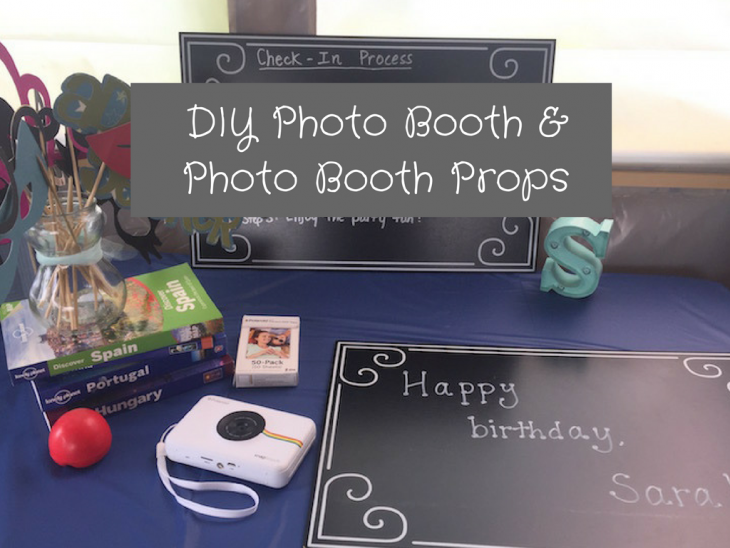
HOW TO CREATE A PHOTO BOOTH
We simply picked an area at the party space that we thought would have the best light and background.
We settled on the enclosed deck for its natural light. You don’t need anything fancy with backdrops and studio lights.
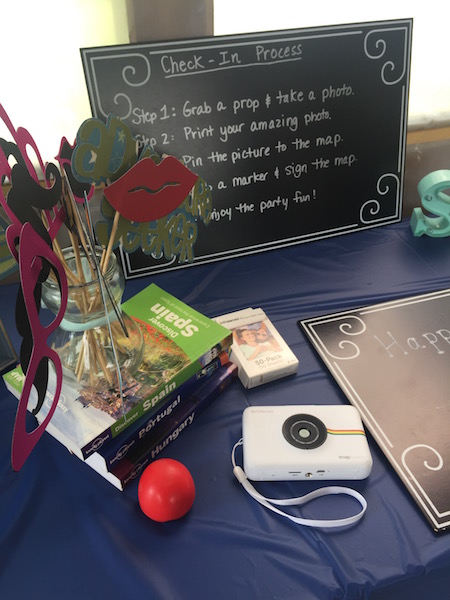
We just looked for a place with a clean background and good light. We then set up a small table that held the photo booth props, camera, and instruction board.
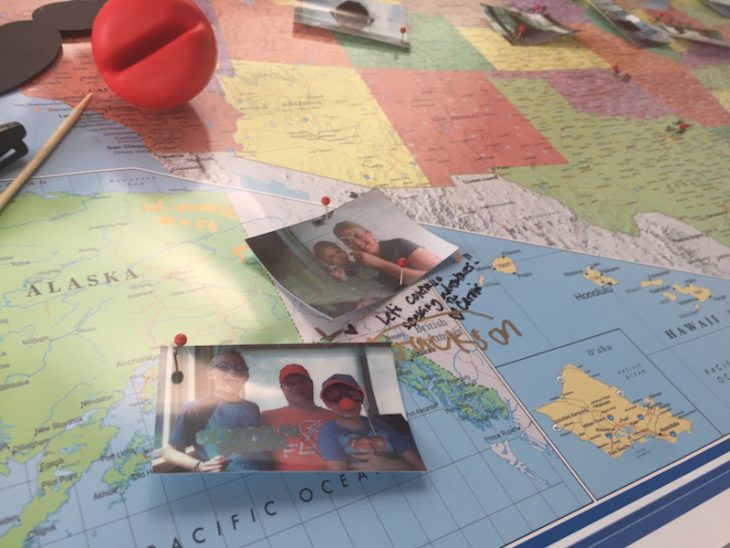
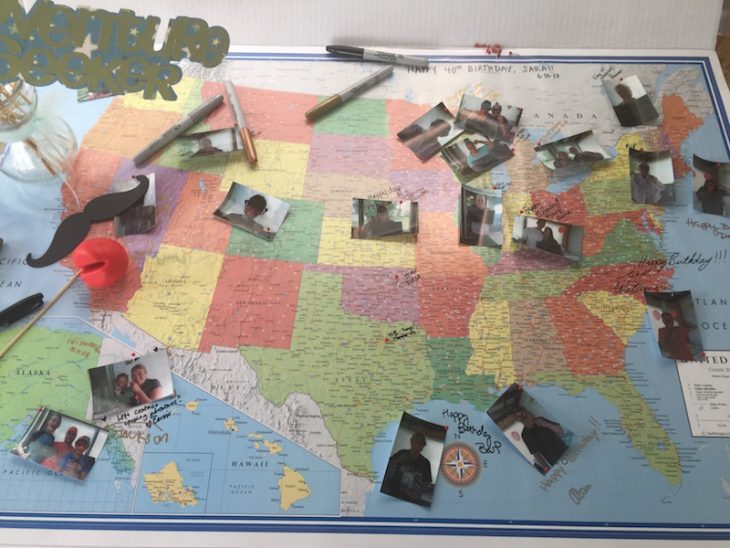
On another table, we had the “guest book” which was a map of the United States that people would pin their photo to and sign. The party was travel themed so the map guest book was perfect!
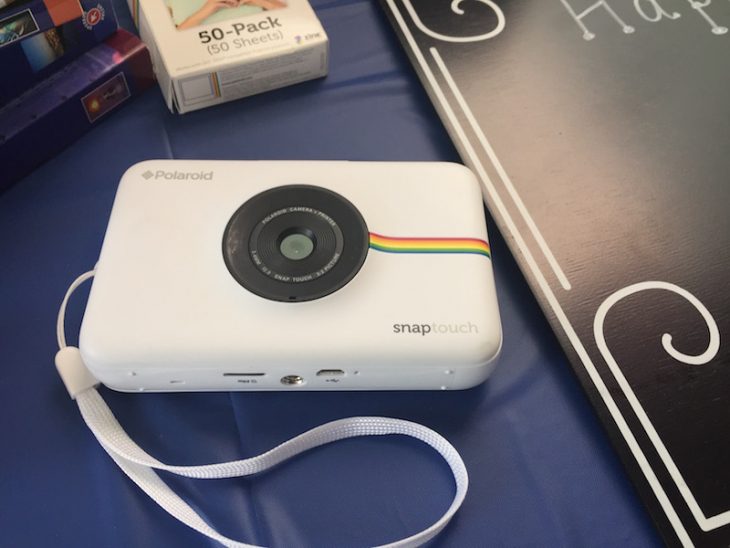
WHAT CAMERA TO USE
This is the fun part. We used the Polaroid SnapTouch camera. People could ask another guest to take their photo or use the camera to take a selfie.
They could review the image on the screen and if they loved it they could print it. If not, they simply took another image.
After printing the photo they pinned it to the map. They could also print an image for themselves.
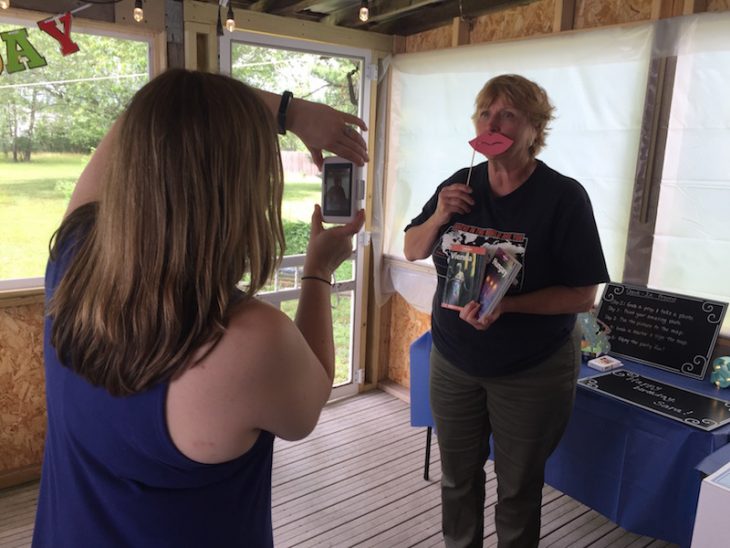
The Polaroid SnapTouch is very user-friendly and simple to use. We simply set the camera on the photo booth table and people were able to quickly figure out how to use it.
A quick touch of the pop-up flash to turn it on, snap the photo, review the photo, print the photo.
The touch screen on the camera lets users select the print menu (printer icon) and then select the number of prints and hit go.
After hitting the print button the camera prints out a small Polaroid image directly from the camera. This was a HUGE hit at the party and everyone loved it!
Note: Be sure to buy extra film.
DIY PHOTO BOOTH PROPS
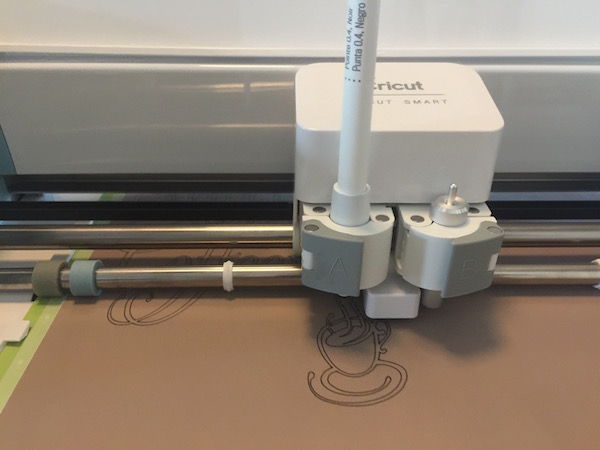
I’m fortunate that I have a Cricut machine with access to Cricut Design Space+membership so making the photo booth props was as easy as 1-2-3.
If you enjoy DIY projects I can’t recommend the Cricut machine enough. I’m always making projects using it (soon to the blog: quotes and decor) and it made photo booth props quick and simple.
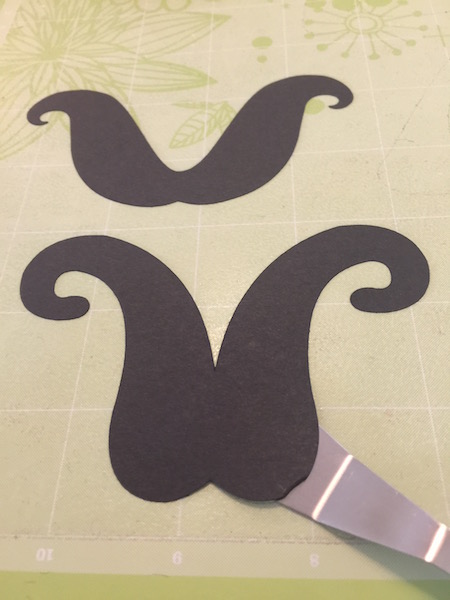
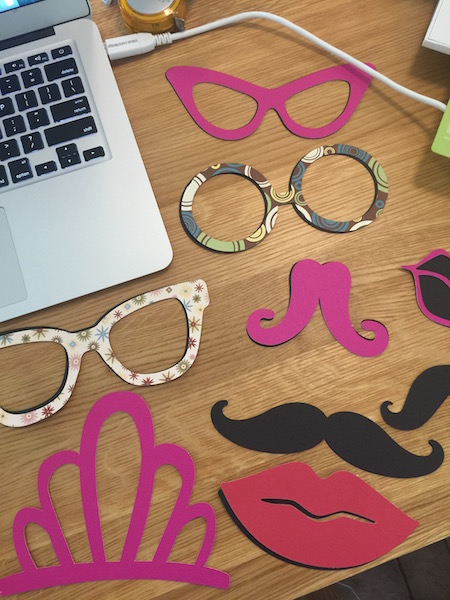
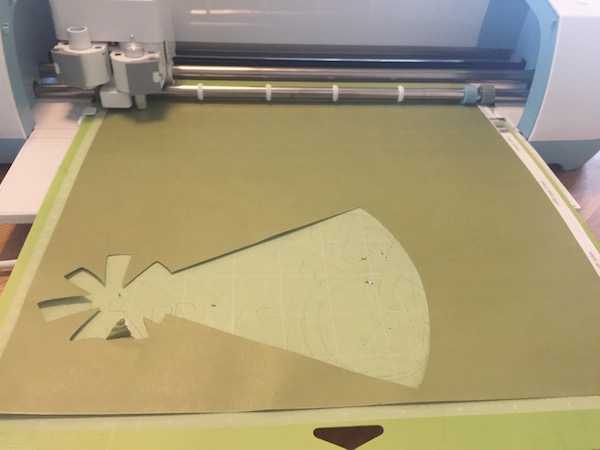
In the Cricut Design Space, I simply searched for photo booth free images and then cut them out according to the step by step instructions. I used a heavy cardstock for the photo booth props.
I saved a selection of glasses and ‘staches to share with you. Simply click on this link if you have the Cricut Design Space https://us.cricut.com/design/#/canvas/62226795
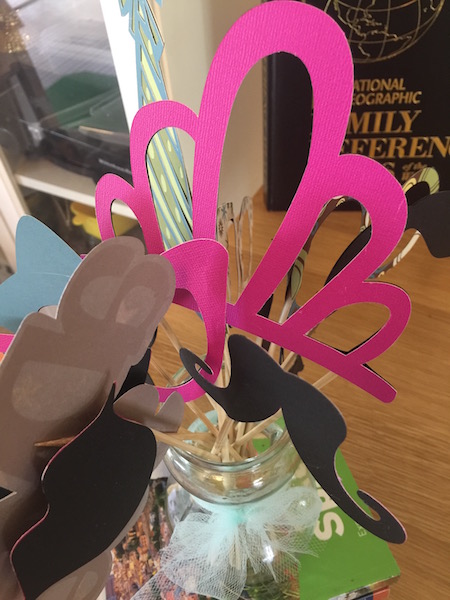
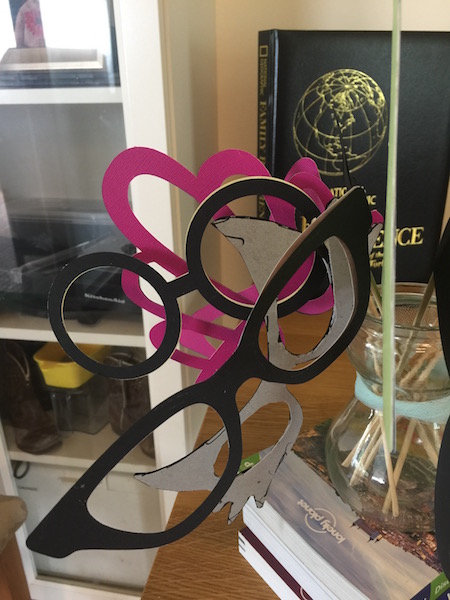
After cutting out the props I attached them to a wooden skewer, you can also use a thin wooden dowel, using a glue stick and let them dry overnight.
For the most part, they stayed together for the entire party with multiple uses. If I was going to do it again I would use hot glue to attach the photo booth prop to the stick.
For the photo booth area, I placed the props in a vase on top of a stack of books. We also had a Happy Birthday sign, travel books and a red nose 😉
The photo booth was such a success at the party I’m thinking of having one every time I have a get-together.
It was a great way to document who came to the party and the photo was also a fun little parting gift for them.