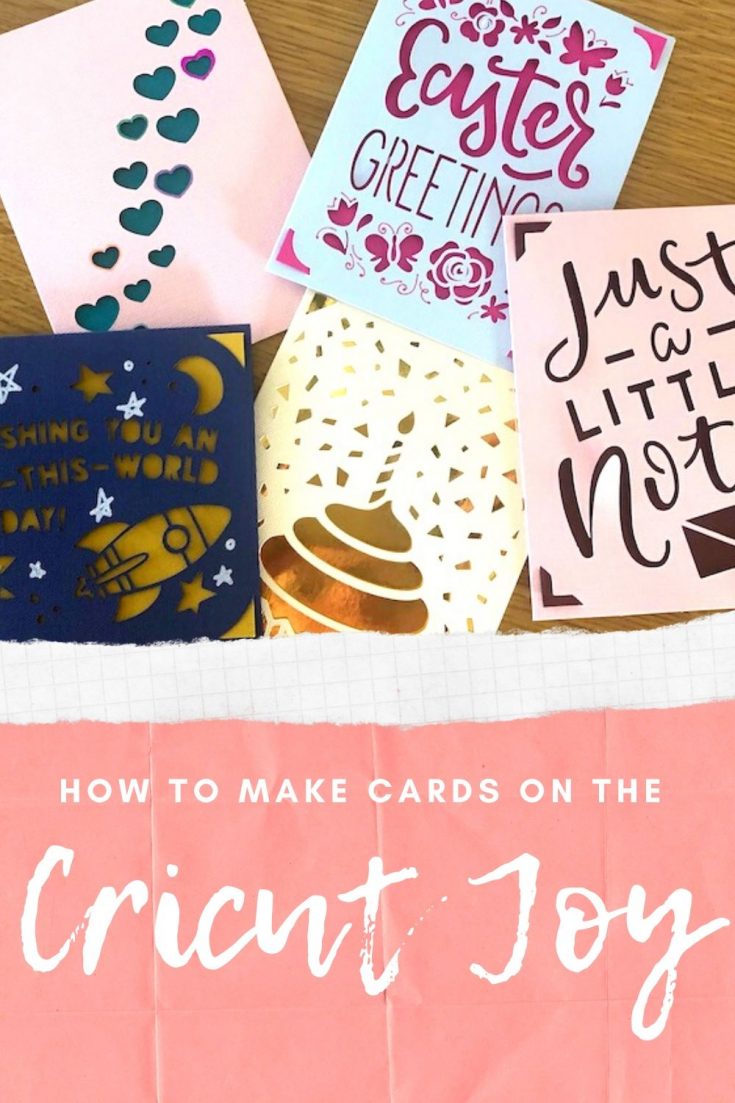
How To Make Cards on the Cricut Joy
This post and its photos may contain affiliate links, view our disclosure policy.
This is a sponsored post written by me on behalf of Cricut for Cricut. All opinions are 100% mine.
Before everything hit the fan I didn’t have much time to play with my Cricut Explore Air or Cricut Joy, but all that changed when travel came to a screeching halt. Now I’m finding more time for creative play and I’m thrilled to share how to make cards on the Cricut Joy.
I’m thankful that Cricut sent me the Cricut Joy and supplies so I can spread some joy to those in nursing homes who are missing family and friends.
https://www.instagram.com/p/B-afQ8-Arva/
The best part it this literally takes just a couple minutes to create a card with the Cricut Joy. You can watch my IG TV (above) on how I made cards or follow along here.
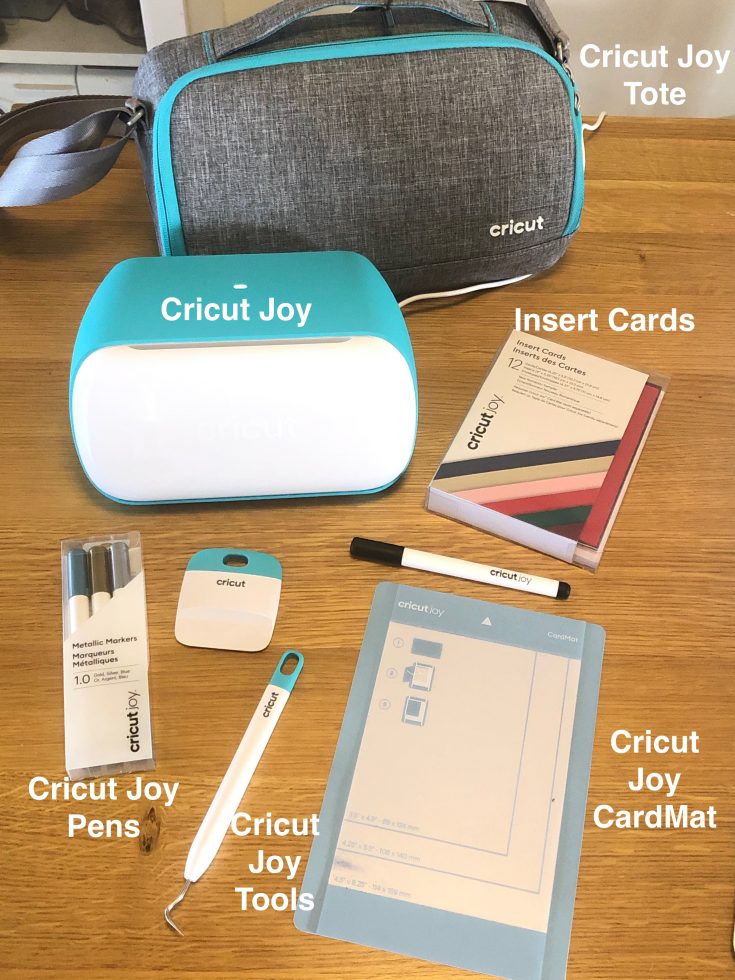
How To Make Cards on the Cricut Joy Supply List
You’ll find everything you need to make cards with the Cricut Joy on the Cricut website.
- Cricut Joy
- Insert Cards
- CardMat
- Cricut Tools
- Cricut Joy Pens
The Cricut Joy Tote while not necessary for card making is a really cute way to safely store and travel with your Cricut Joy.
How to Make Cards on the Cricut Joy Step-by-Step Instructions
Step 1
Open Cricut Design Space on your laptop or smart device.
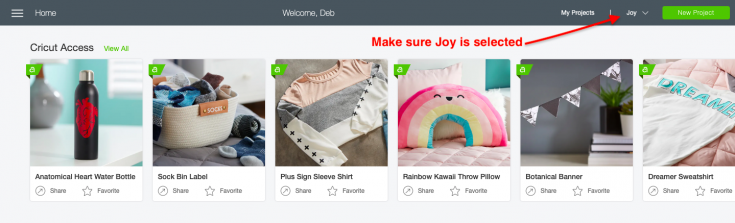
Step 2
Make sure to change the device at the top right of the page to Joy.

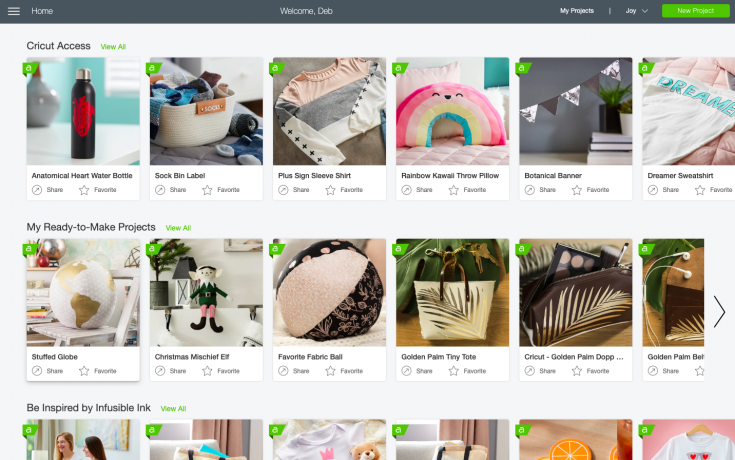
Step 3
Scroll down to Creative Cards
Step 4
Click View All
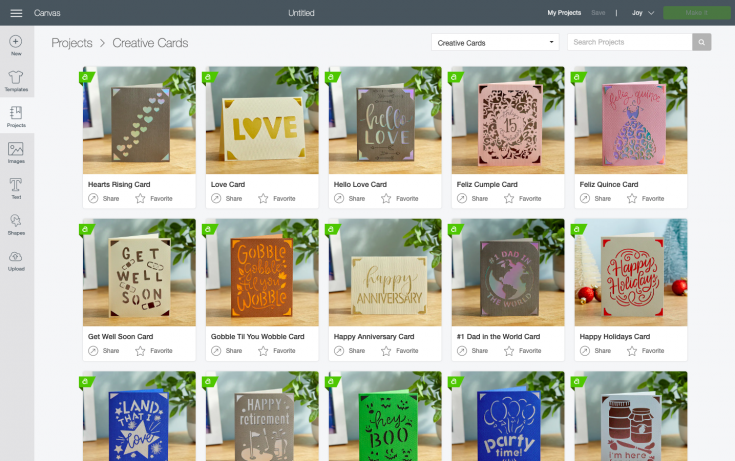
Step 5
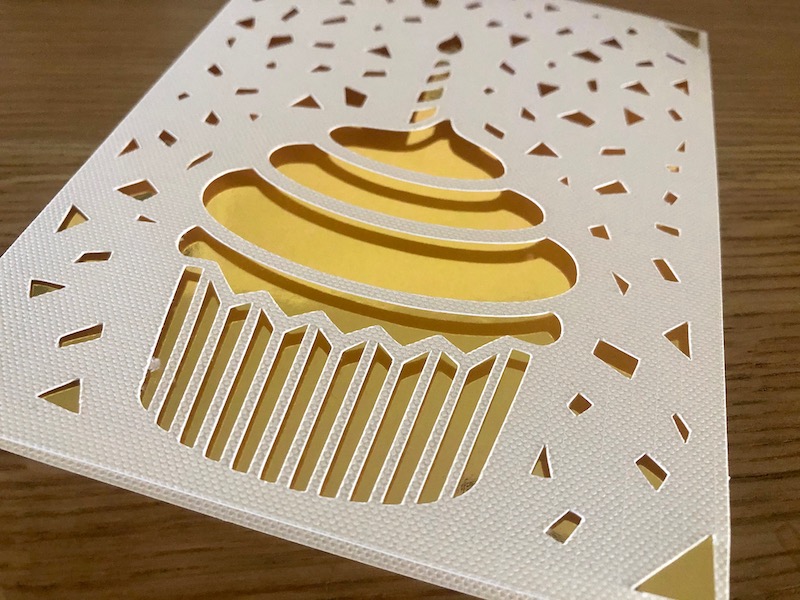
Scroll through the premade cards and select one to make. Once you’ve decided simply click on the image.
Note you could design your own, but I’m not quite that savvy yet so I always use the premade ones. There are a lot of great options. The hard part will be picking which ones to make first.
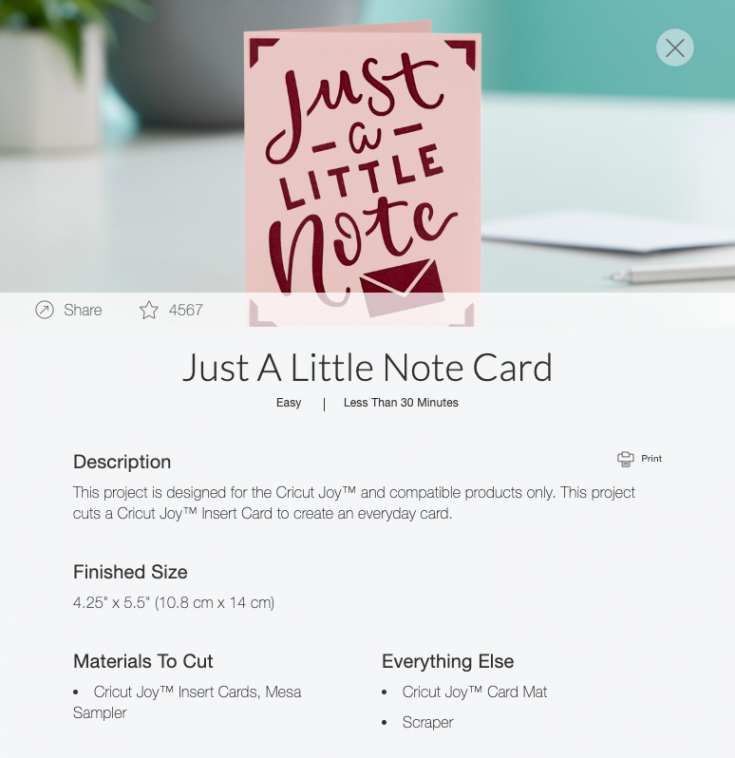
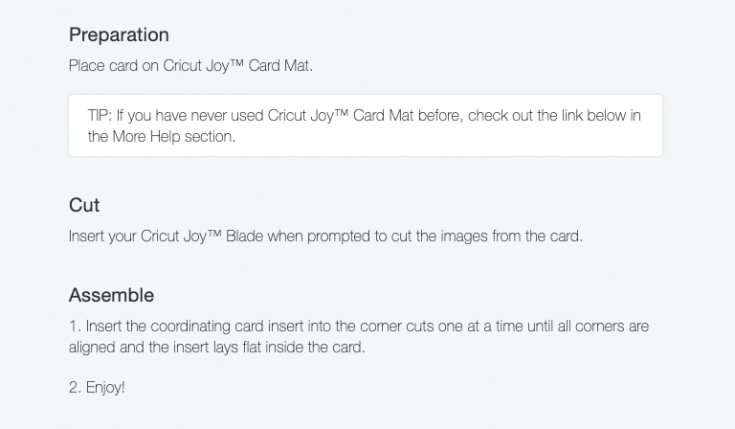
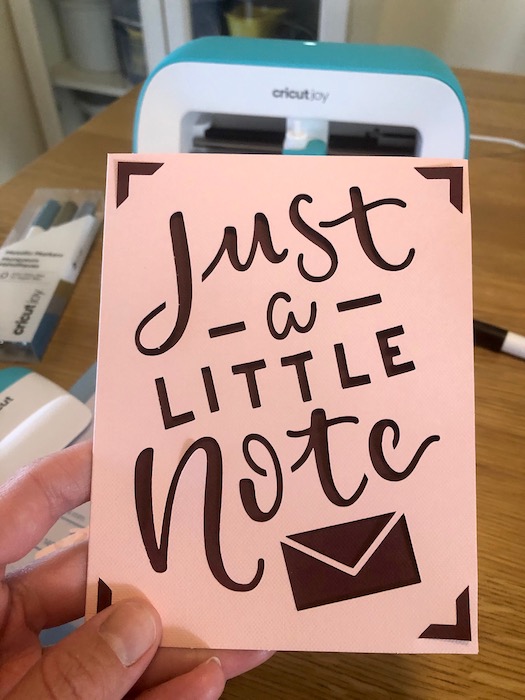
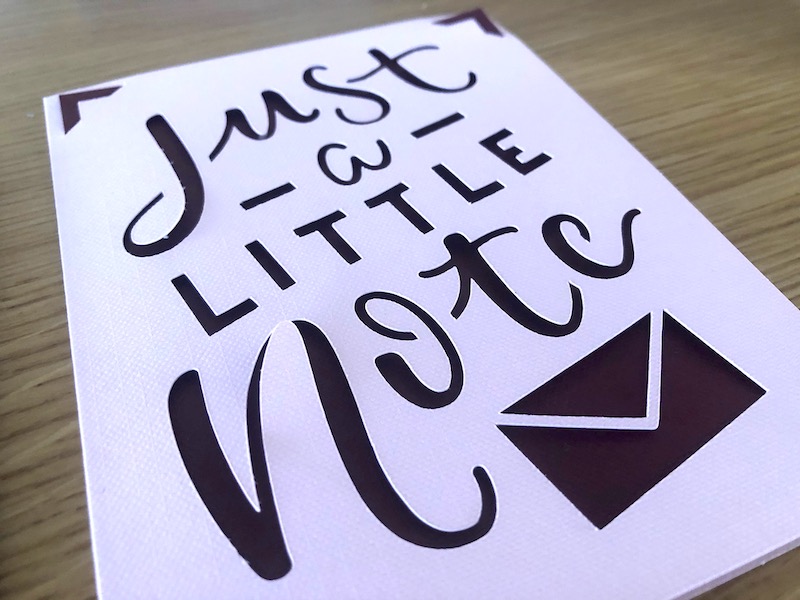
I selected Just A Little Note. When you click on the project it will pop up a screen that gives you all the details you need from the supply list to step by step instructions. Using the Cricut Joy is foolproof.
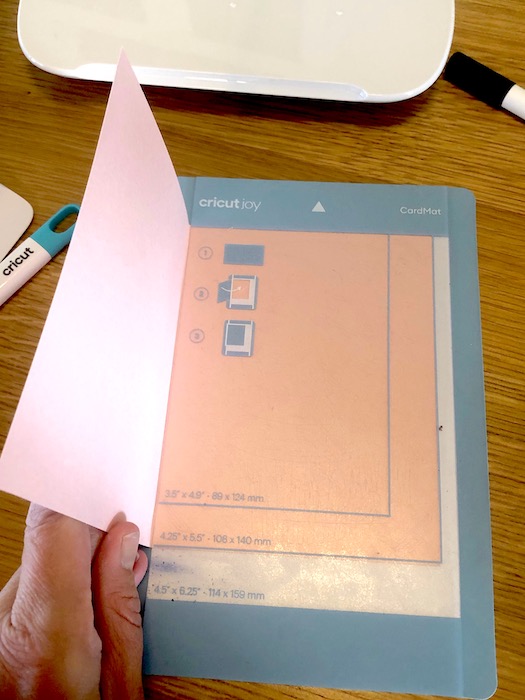
Step 6
Load your card into the Cricut Joy CardMat. You can use the color card recommended in the instructions or go your own way.
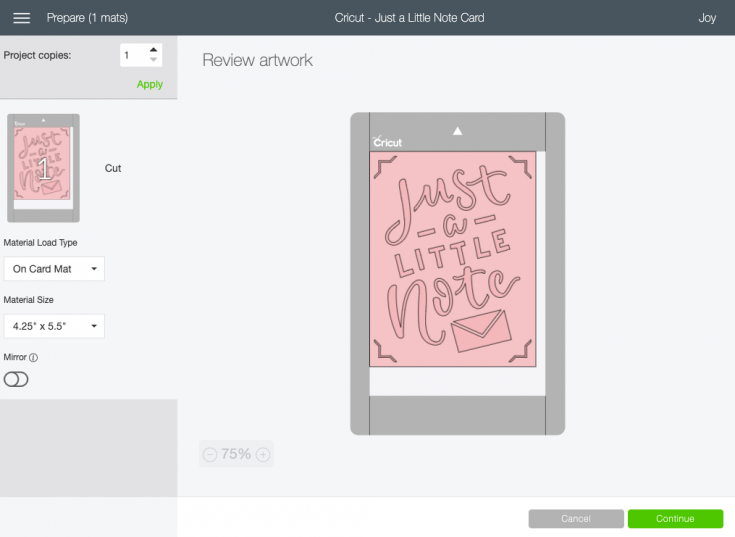
Step 7
After you click on the image a new screen will open that lets you review the artwork. Be sure to check the left column for accuracy.
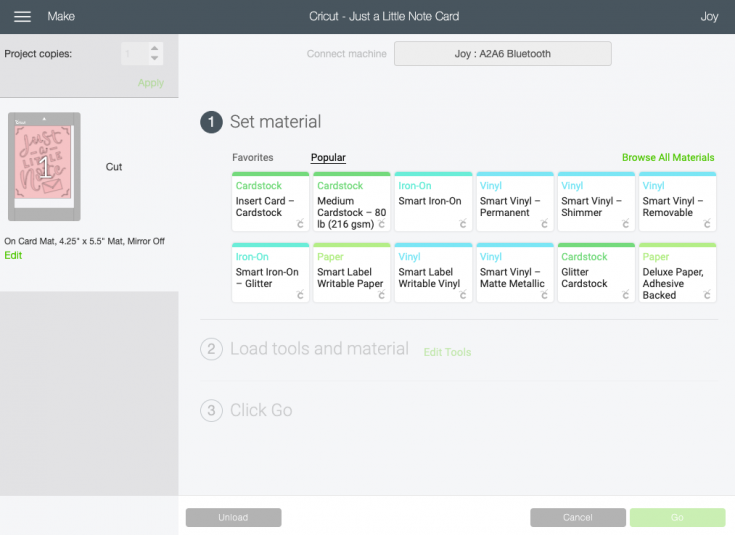

Step 8
Click “Continue”. The Cricut Joy connects to your device via Bluetooth, once it is connected you will be walked through the next steps. Select the paper type, ensure the blade is loaded and insert the CardMat into the machine.

Step 9
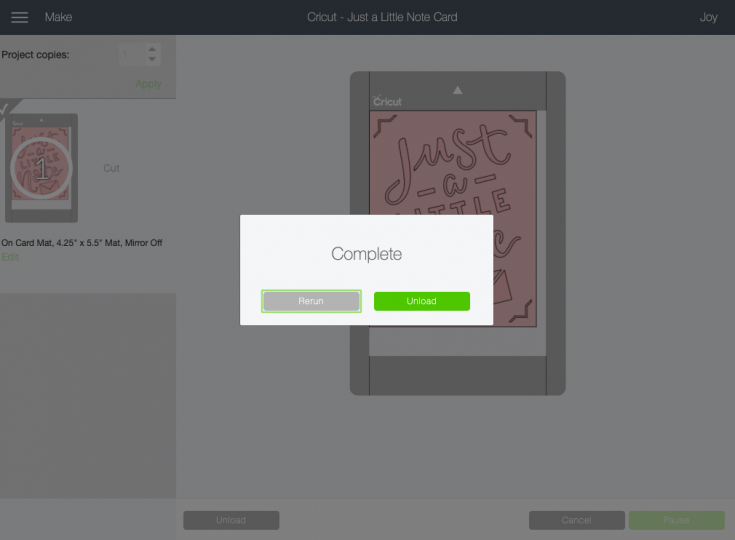
Click Go and let the Cricut Joy work its magic! If at any point you need to pause or cancel the project you can do so by clicking the buttons in the lower right corner.
Step 10
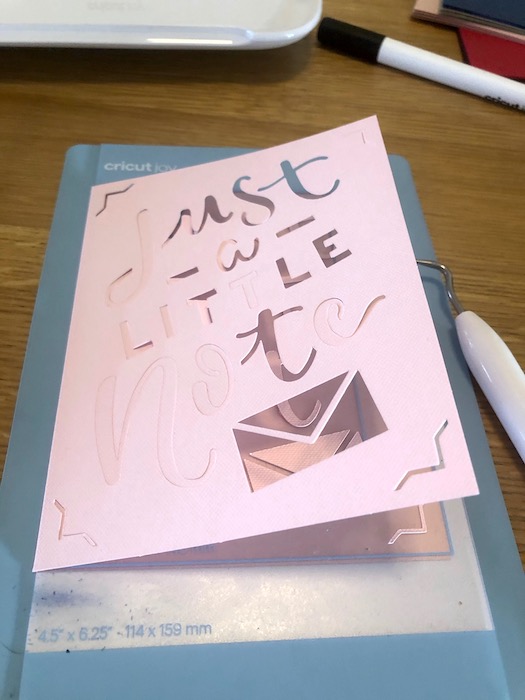
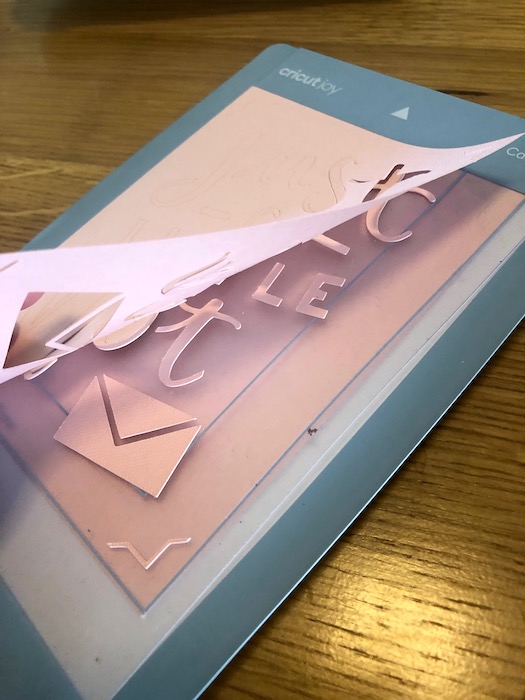
Unload the card from the machine and gently peel off the mat. Use a Cricut tool to clean up the card, if needed.
Step 11
Select an insert color to add to the card. Secure the insert using the cut notches in each corner of the card. Place in the provided envelope and mail to a local nursing home, hospital or first responder to bring a little joy and happiness to someone’s day.
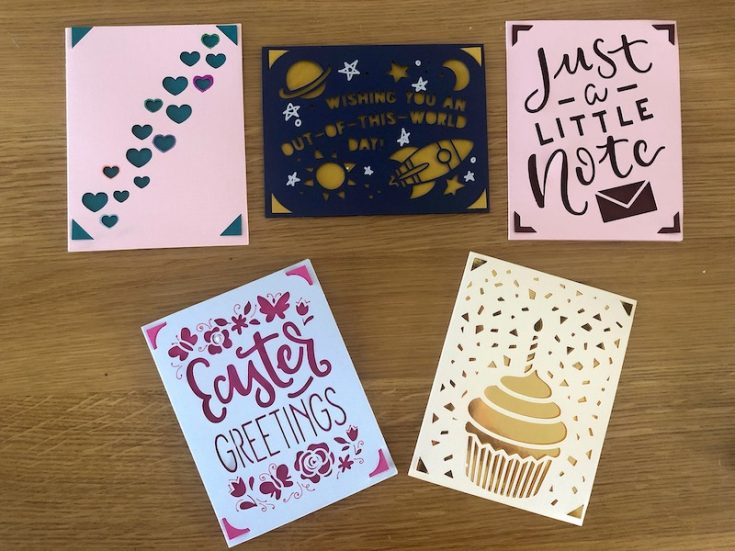
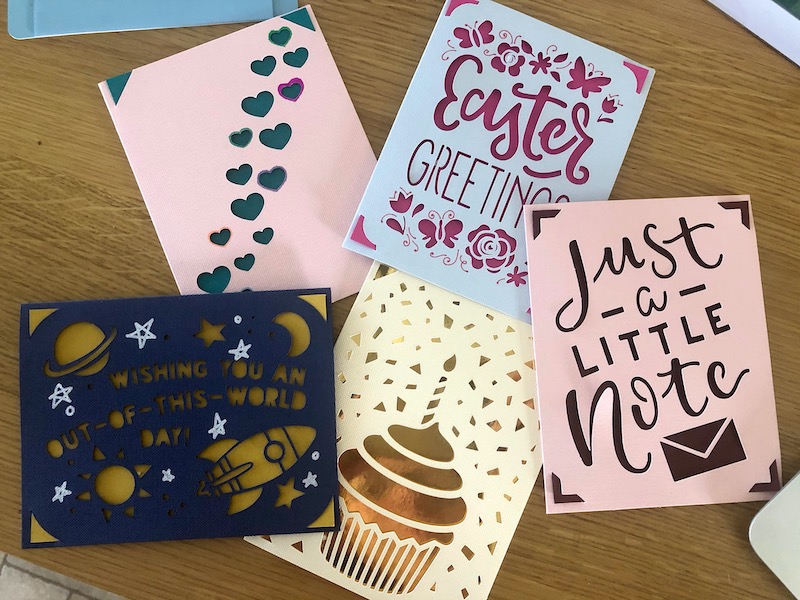
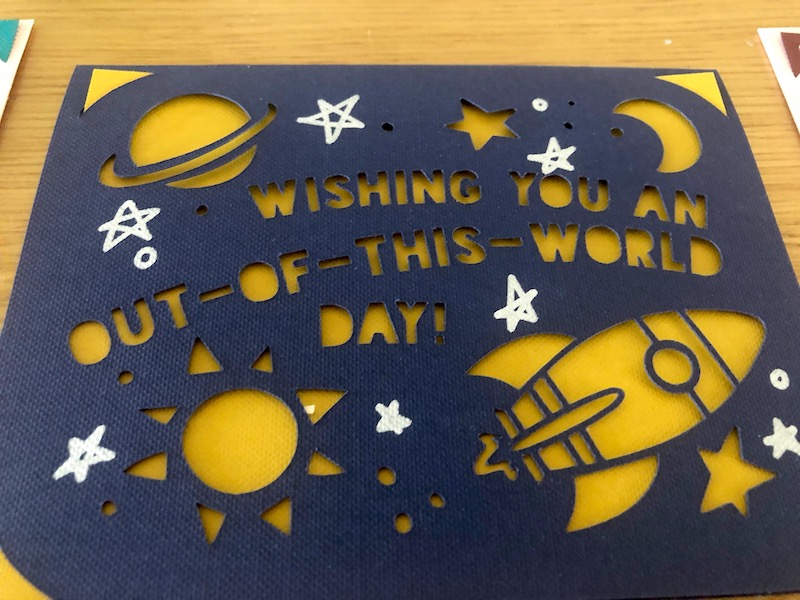
Repeat as many times as you’d like or until you run out of cards. Once we got started we didn’t want to stop. We made a selection of cards for a nursing home and for family and friends.

Luckily, I had postage stamps on hand that I bought at Christmas so I was able to toss these in the mail without a visit to the post office!
I love that these cards can each be made in just a couple minutes. Order all the supplies you need from Cricut and get started making cards in no time at all.
Pin Card Making with Cricut Joy to Pinterest