How To Update An Old Garage Floor
This post and its photos may contain affiliate links, view our disclosure policy.
When I’m not traveling I’m at home working on DIY projects. Our most recent project that we have absolutely been dreading has been the garage. Packed with junk, rough looking floor and it needs more insulation and drywall, for starters.
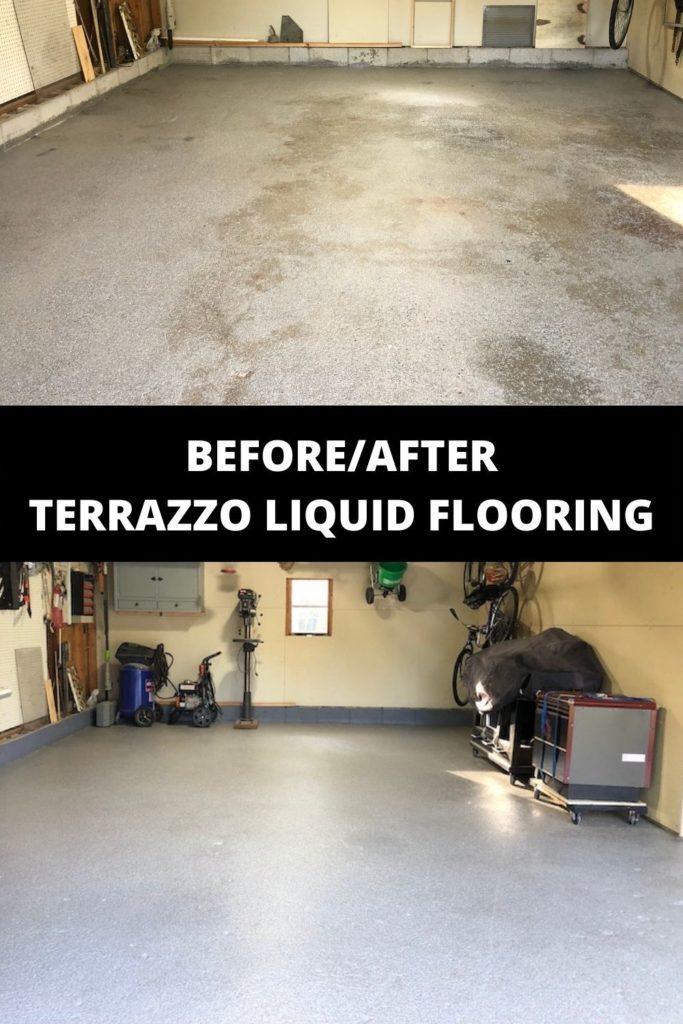
We’re going to take the garage remodel in little bits. Today, I’m going to share how to update an old garage floor with Daich Coatings Terrazzo liquid flooring.
Yes, we needed some time between the kitchen remodel (aka how to test a marriage) and the next “big” project 😉 I think we’re getting better at it this DIY gig though so more projects in our future.
WHY DAICH COATINGS TERRAZZO LIQUID FLOORING?
WHERE TO USE DAICH COATINGS TERRAZZO
EQUIPMENT AND SUPPLIES NEEDED
- Daich Coatings Terrazzo Flooring (3 5-gallon buckets for our 1 1/2 car garage)
- Daich Coatings Anti-Slip Sealer
- Mop Bucket
- Mop
- Concrete Cleaner
- Paint Mixer attachment for drill
- 18″ Wide Boy Roller Frame
- 3-18″ Paint Roller for Rough Surfaces (2 for the Terrazzo and 1 for the sealer)
- Large tarp to cover items we placed outside
Daich Coatings provided the Terrazzo and sealer, the other items we picked up at our local home improvement store.
Now, when you see the before photos of our garage it may cause y’all some anxiety, but I promise it gets better. Let’s just say the garage started to be the place that everything went that we didn’t know what to do with.
STEP 1: EMPTY THE GARAGE
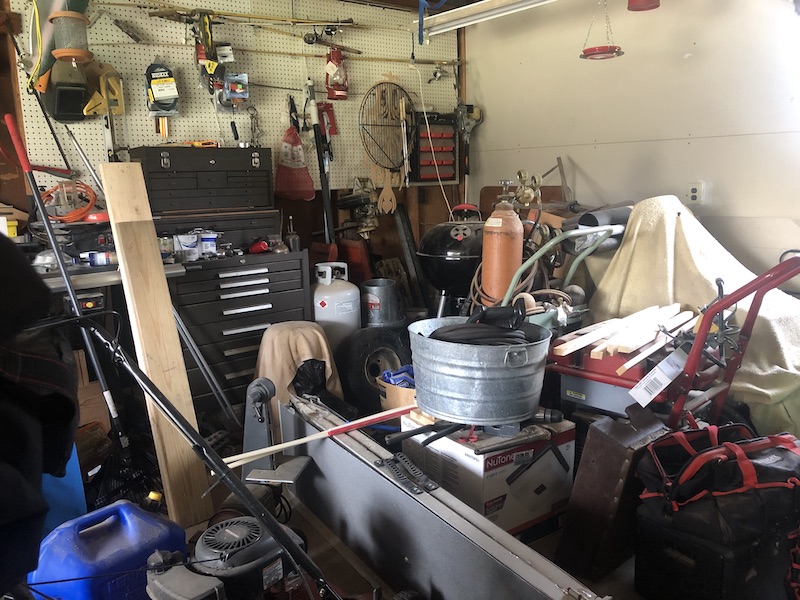
The garage is was packed with stuff you can’t even see the floor to know that its in pretty rough shape.
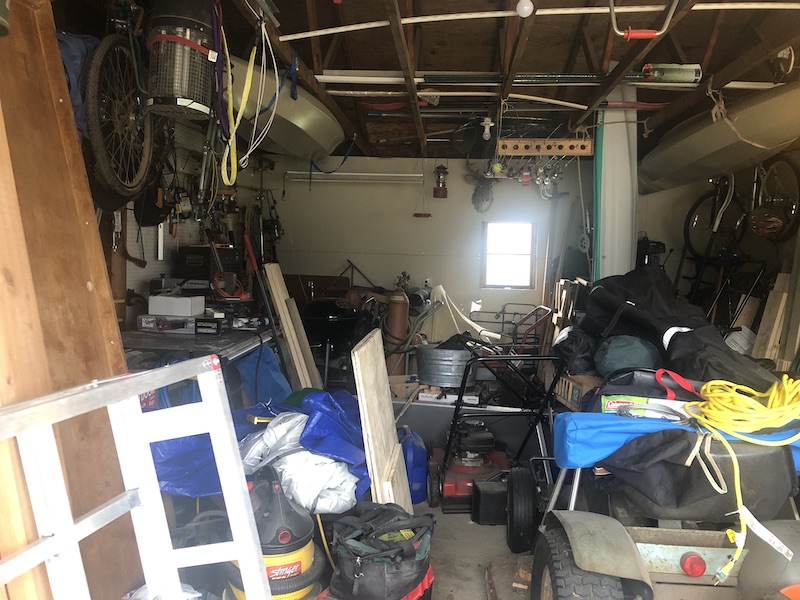
Ugh, there’s a sliver of floor there to see, but lord, I knew the toughest part of this project was going to be making all this stuff disappear.
Thankfully, the kids came home for the weekend and helped us empty the chaos.
We moved EVERYTHING out except items hanging on the wall or up in the rafters. Big items were moved to the yard or the shed and the smaller items were all moved into my office.
Many of the larger items were either donated, sent to scrap metal, given away or returned to their owner.
The smaller items in my office still have to be sorted and many of those will donated or given away as well.
Our goal is to only put items back in the garage that we absolutely need. Alan does a lot of wood working and those tools take up a lot of floor space, but hopefully it will look more organized when it’s all put back in the garage.
I don’t ever want our garage getting back into the cluster that it had become.
STEP 2: SWEEP AND SCRUB
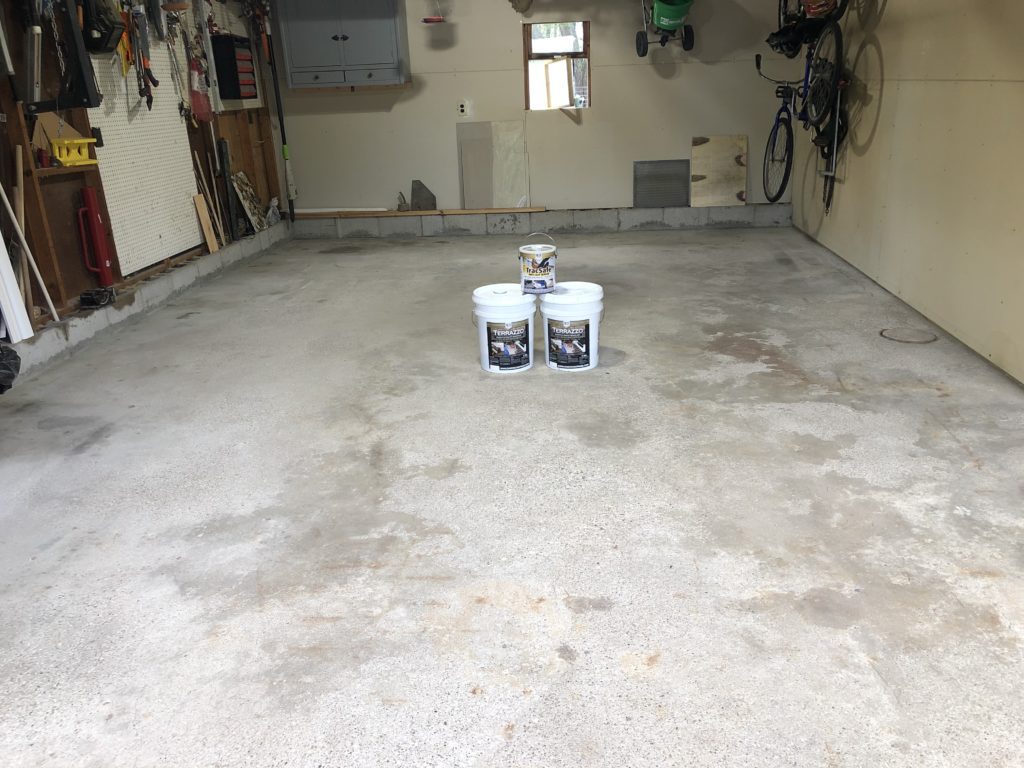
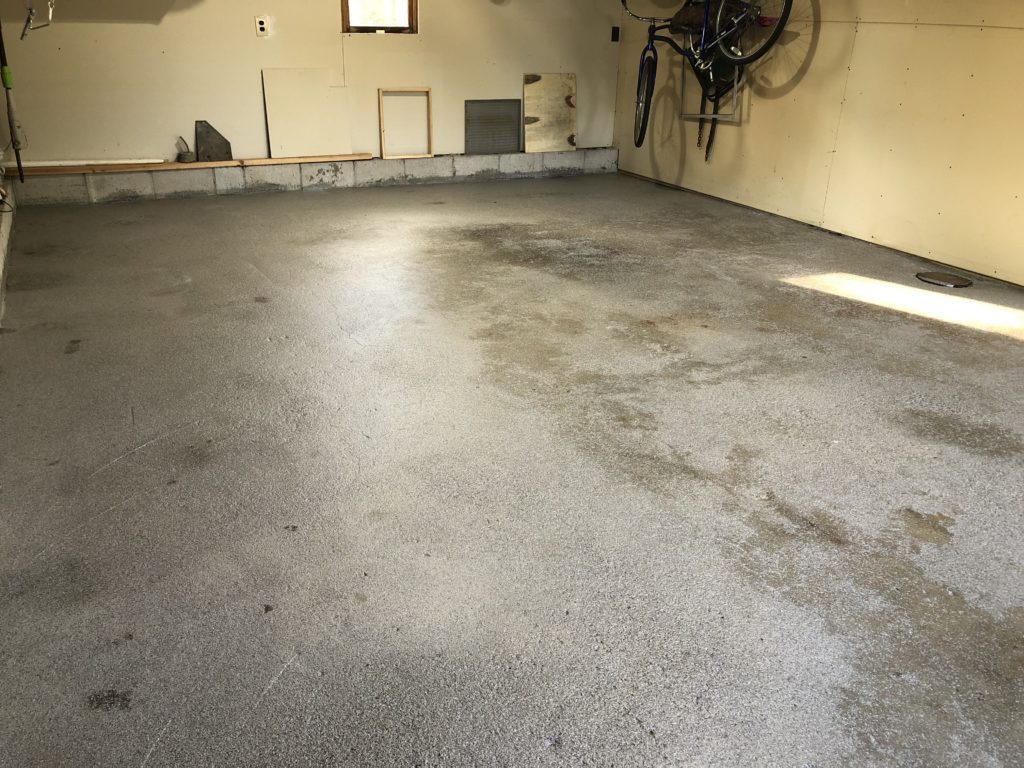
It was a LOT of work to get the garage cleaned out, but once it was done you could really see why the cement floor needed some help.
It has lots of little holes and cracks, mostly because it’s old, and so many oil stains. Which is why step 2 is so important.
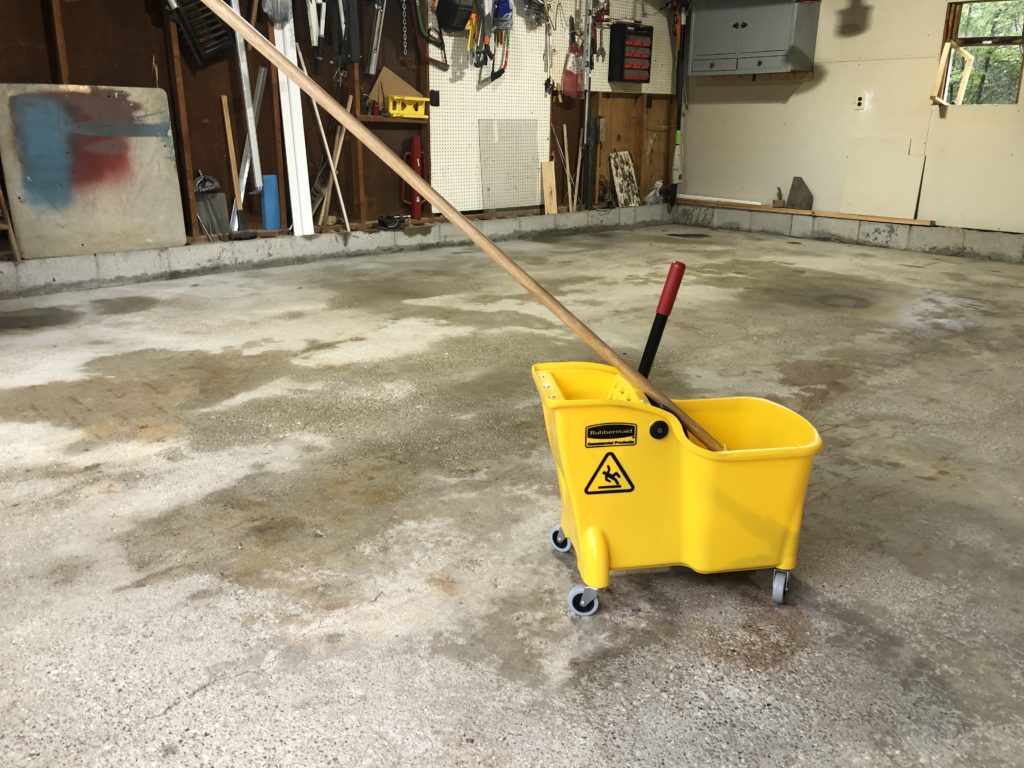
First we swept the floor the best we could, then we vacuumed because we wanted to get all the dirt off the floor.
Lastly, we bought concrete cleaner, added it to some water and scrubbed the heck out of that floor.
I wanted to use a pressure washer to wash the garage floor but Alan thought that it would take too long for the floor to dry and we were under a deadline to get this project completed.
It’s important to note that the Daich Coatings Terrazzo is NOT a garage floor paint or a concrete floor paint , but a liquid system that you roll onto the floor.
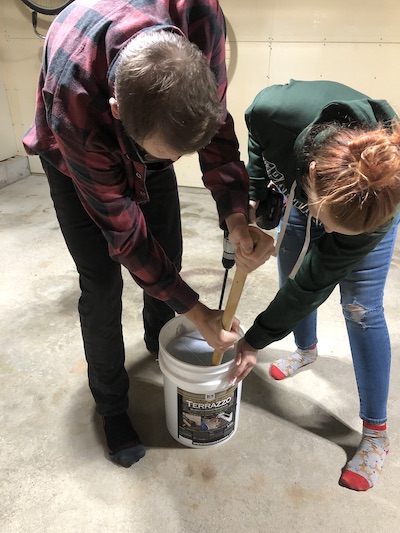
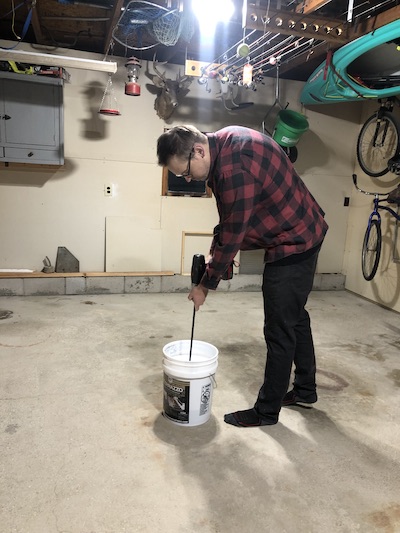
STEP 3: MIX THE DAICH COATINGS TERRAZZO LIQUID FLOORING SYSTEM
I will say this, the coating is HARD to mix up. The texture separates from the liquid and settles at the bottom of the bucket. Pulling the texture up off the bottom and getting it mixed into the liquid coating takes some muscle.
We used a 1″ wooden dowel to get everything off the bottom and mixed in as best we could, then we used a power drill with a mixing attachment to make sure everything was really well incorporated.
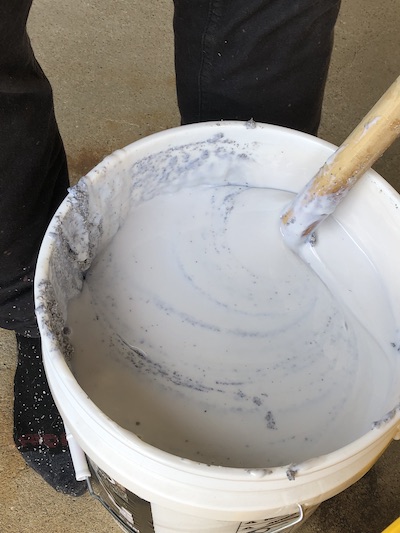
Digging the stuff up off the bottom was challenging, but honestly, that is the hardest part of installing the flooring.
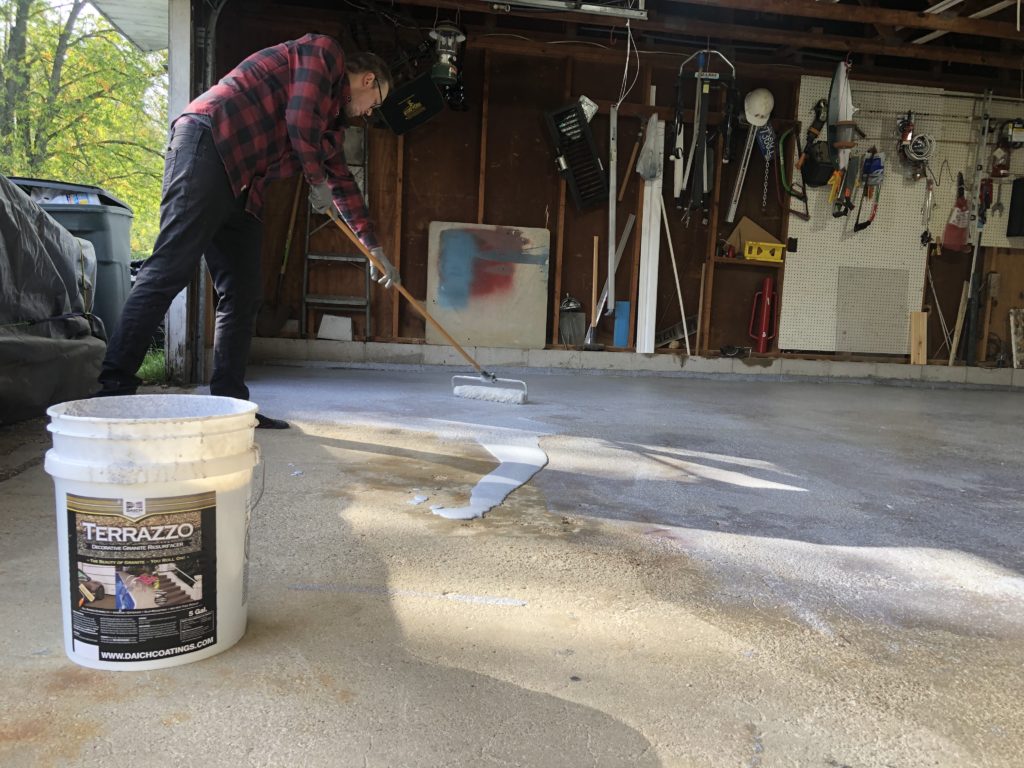
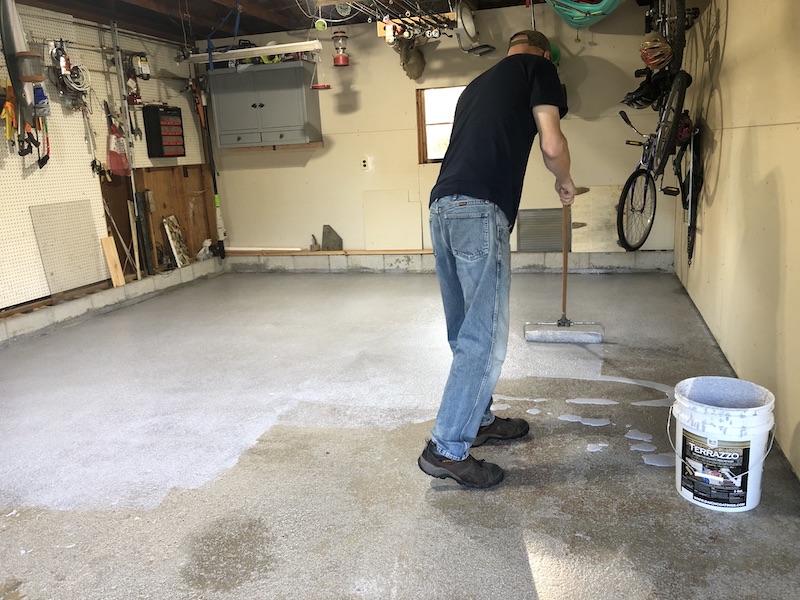
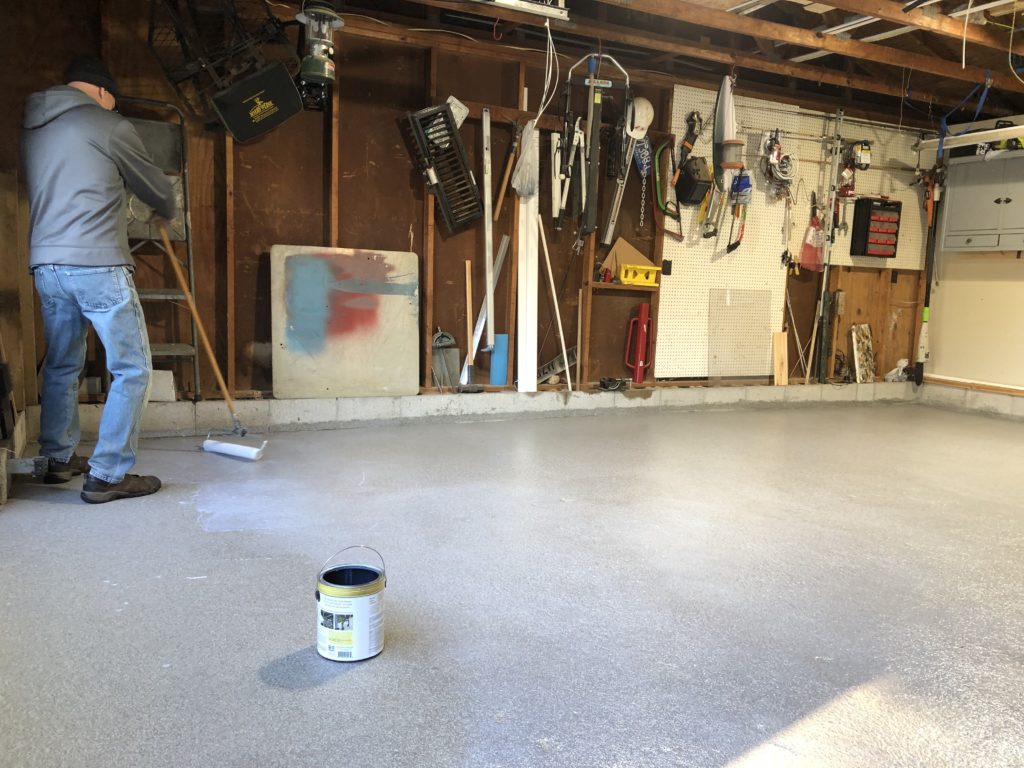
STEP 4: POUR AND ROLL
I don’t know that our system is the best method for installing the liquid flooring but it worked for us.
We purchased an extra wide paint roller system that included a long handle and simply poured the liquid directly onto the cement and then used the roller to roll it on the floor.
Yep, it’s as easy as that.
If you can paint a wall you can paint your garage floor.
STEP 5: SECOND COAT AND THIRD COAT
We let the first coat dry for about 6 hours. After that first coat dried, it honestly, didn’t look like we had really done anything.
My guess is that a lot of the flooring soaked into our old cement, which, honestly, created a great base for the second and third coat.
The instruction suggest two coats. However, after we let the second coat dry for about 12 hours I decided to do a third coat.
We had enough product left and I really felt like it needed it.
I am so glad we put a third coat on the floor. I think because our flooring was so stained that the third coat really made all the difference in giving the floor a ‘wow’ feel.
Overall, it took about 14 gallons to cover our garage floor.
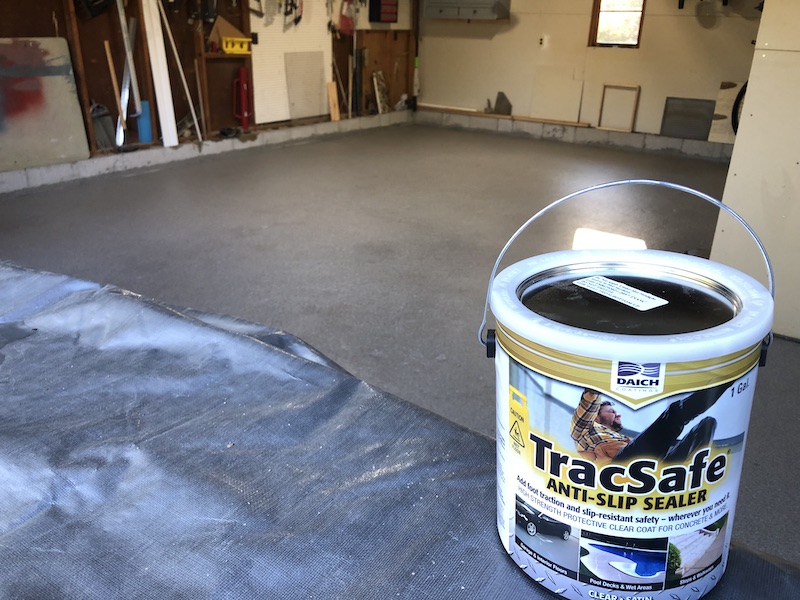
STEP 6: APPLY ANTI-SLIP SEALER
Don’t skip this coat. This keeps the Terrazzo flooring safe from slips and falls. It’s super easy to paint this sealer on and takes hardly any time at all.
We waited 24-hours after the third coat of the Terrazzo before this step.
The anti-slip sealer applies really smoothly and it only took a gallon to cover the entire floor one time.
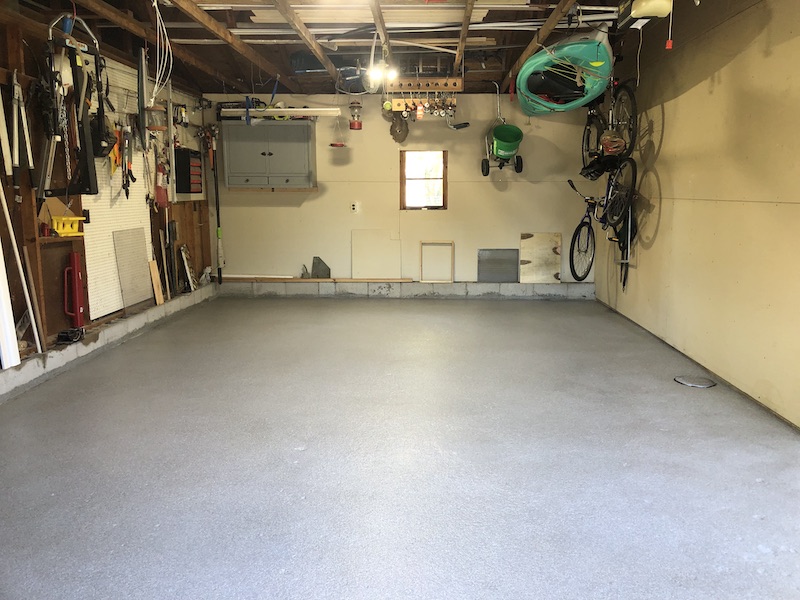
BONUS STEP: PAINT CEMENT BLOCKS
So, since we were painting the floor we decided to paint the cement blocks around the edge of floor. We just used regular cement paint, but it gives the floor a nice finished look in our opinion.

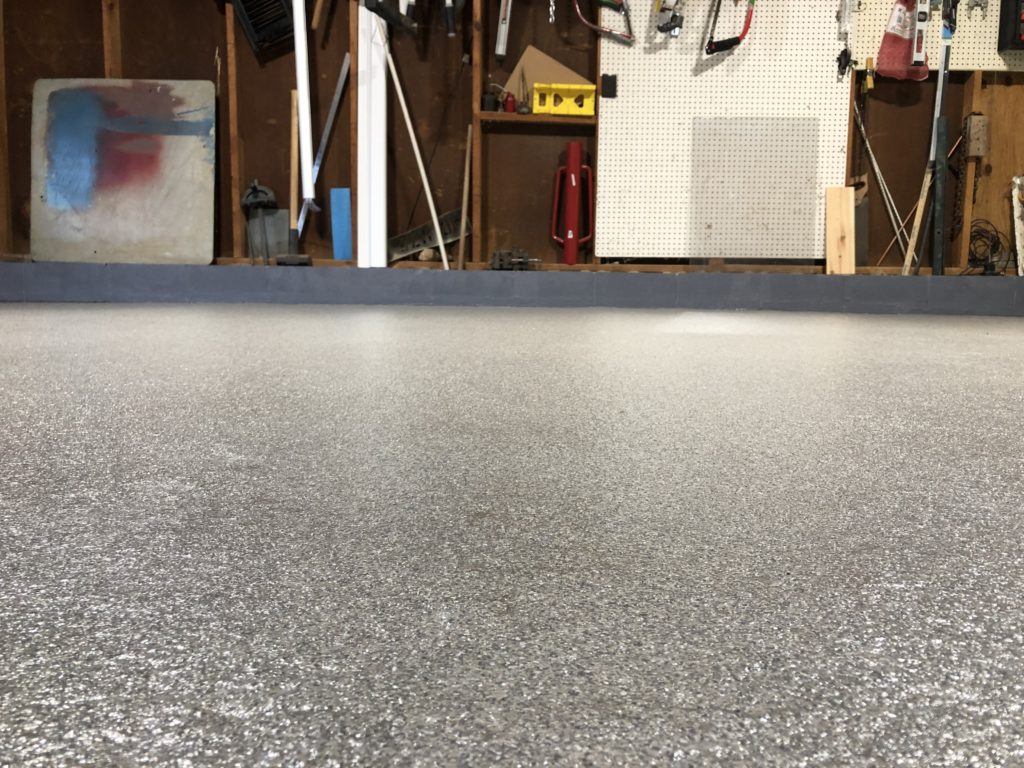
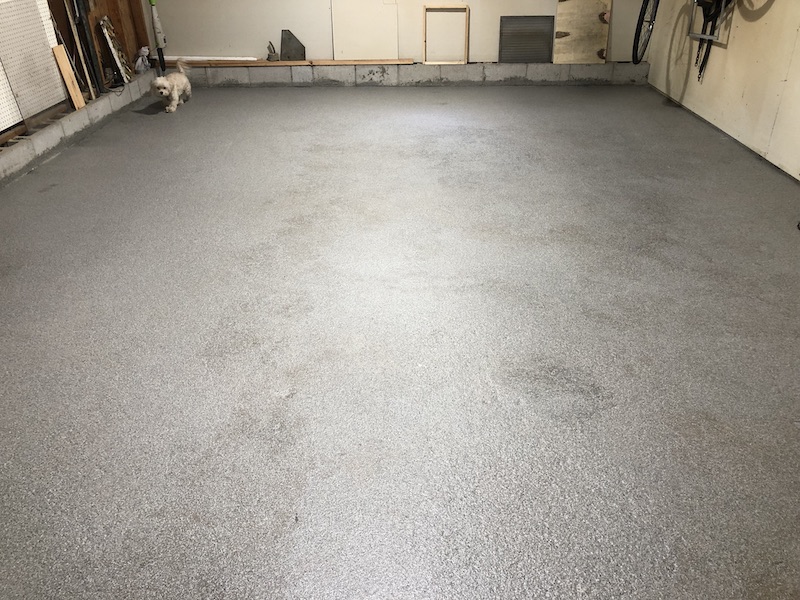
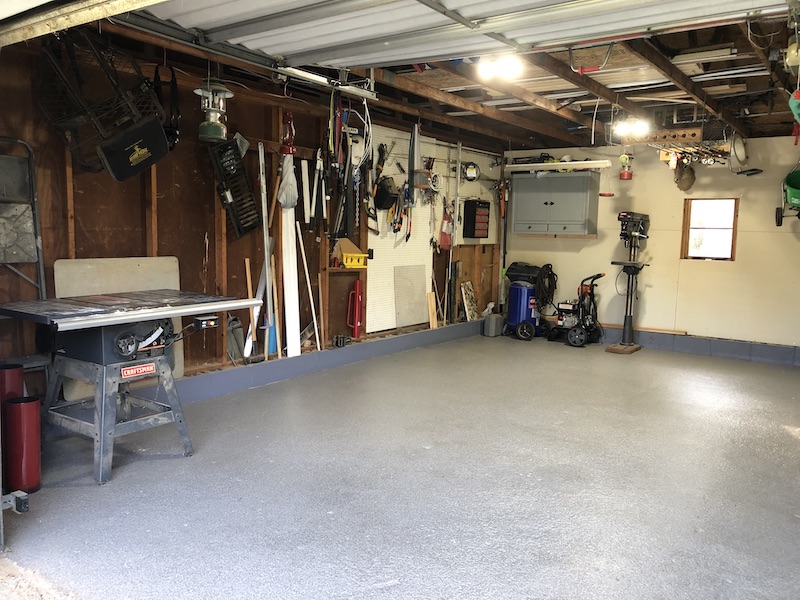
THE REVEAL: FINISHED GARAGE FLOOR
Oh my gosh, this floor looks so freaking good!
![]()
Look at that close up of the floor! Isn’t that beautiful?
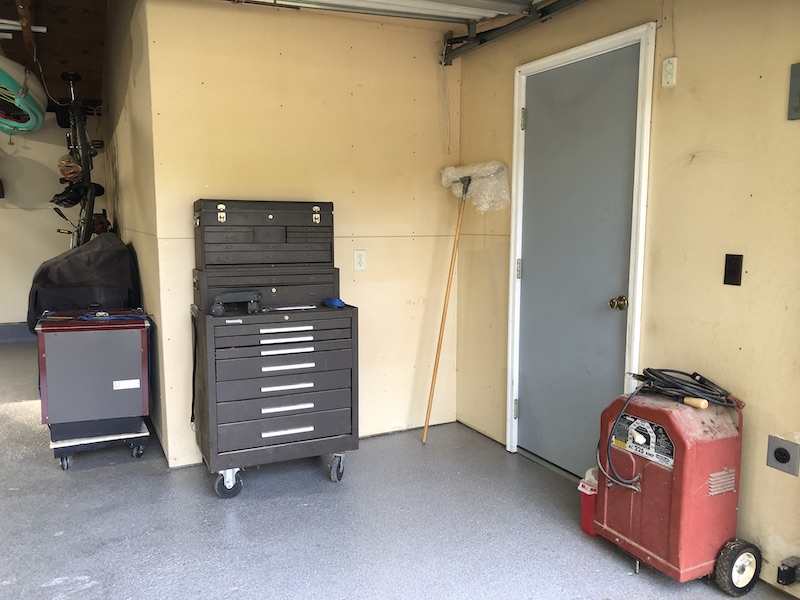
We are slowly moving things back into the garage, but only the things that Alan absolutely “MUST” keep. A lot of items were donated or given away.
WHAT’S NEXT
We still have a few things we want to do before we consider the garage finished. These include:
- Insulate and drywall the wall
- New garage door or power wash the current one and call it good
- Continue to sort/donate items
- Maybe mud and paint the drywall. Alan says its fine like it is, I’d like to mud and paint. We’ll see what happens.
If you are wanting to update a cement floor to make it look like a new garage floor I can’t recommend Daich Coatings Terrazzo enough.
PIN HOW TO UPDATE AN OLD GARAGE FLOOR BEFORE/AFTER TO PINTEREST